Setup BuddyPress Calendars
Setup BuddyPress Calendars
This tutorial assumes you already have created BuddyPress Groups from Dashboard -> Groups.
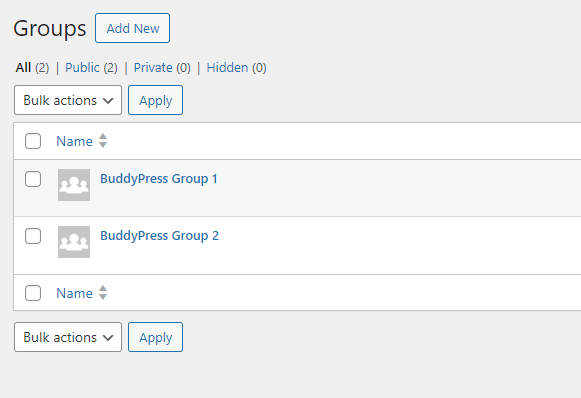
The example will work with "BuddyPress Group 1"
Creating BuddyPress Group Calendar
Go to Calendar Dashboard -> Calendars -> Add New
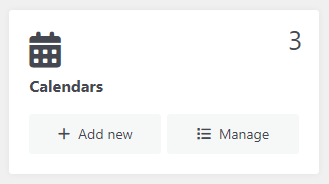
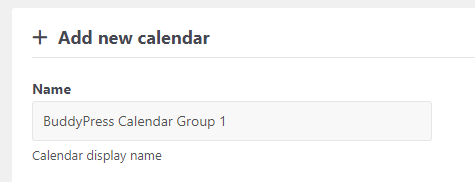
Enter a name for your calendar. For example "BuddyPress Calendar Group 1" :
Scroll down to Use Permissions:

And add the BuddyPress Group from the list.
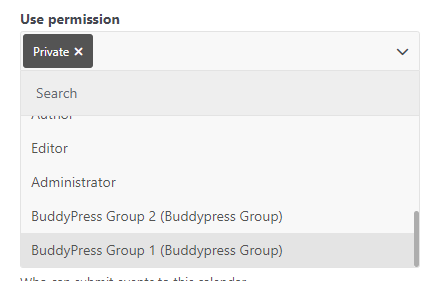

This will allow members of the BuddyPress group to submit events to this calendar.
Save the calendar.
Manage Events Setup
First, make sure users have permission to submit events in general.
Go to Calendar Dashboard -> Settings -> Dashboard to setup the permissions.
Scroll down to "Manage events" setting:

Add user role that you will allow to submit events.
If they don't have this role they won't be able to see the event submission form.
Add "Logged-in users" to allow logged in users to view the event submission form.

Note: The "Manage events" option serves as a "Master" switch.
Even if users are allowed to submit events, the target calendar must also grant them permission via the "Use Permission" setting of the calendar.
If users want to submit events to this group, they must be members of the BuddyPress group because the calendar use permission was set to "BuddyPress Calendar Group 1".
If they don't have permission to submit events to this calendar they won't be able to select it from the event submission form.
Submitting an Event to BuddyPress Calendar
When the steps above are completed, open the Event Submission Form:
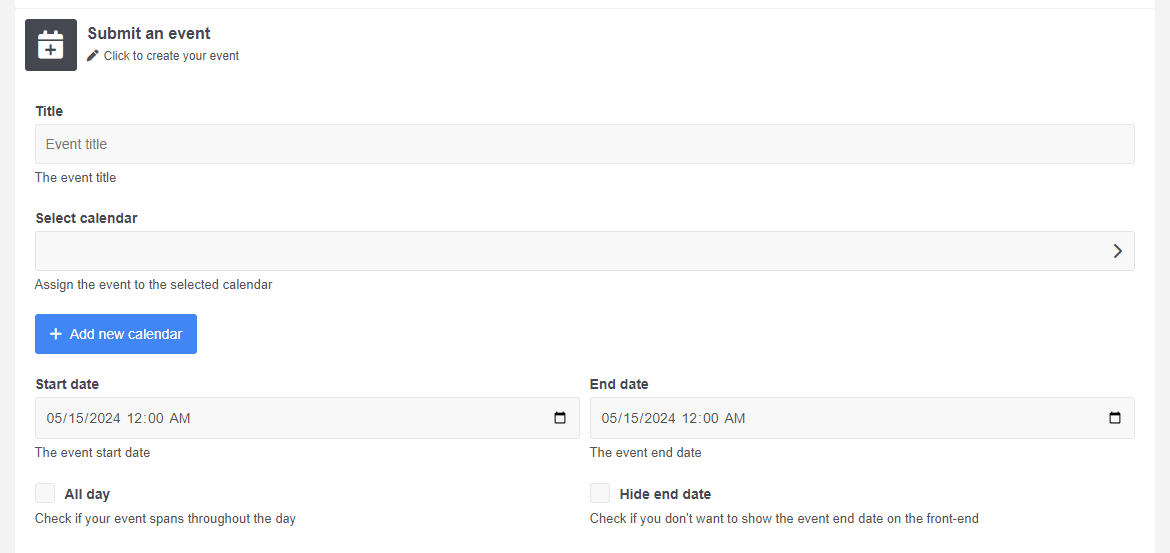
And select the BuddyPress Calendar where you want to store your event.

When submitted the Event will be displayed in your BuddyPress Calendar.
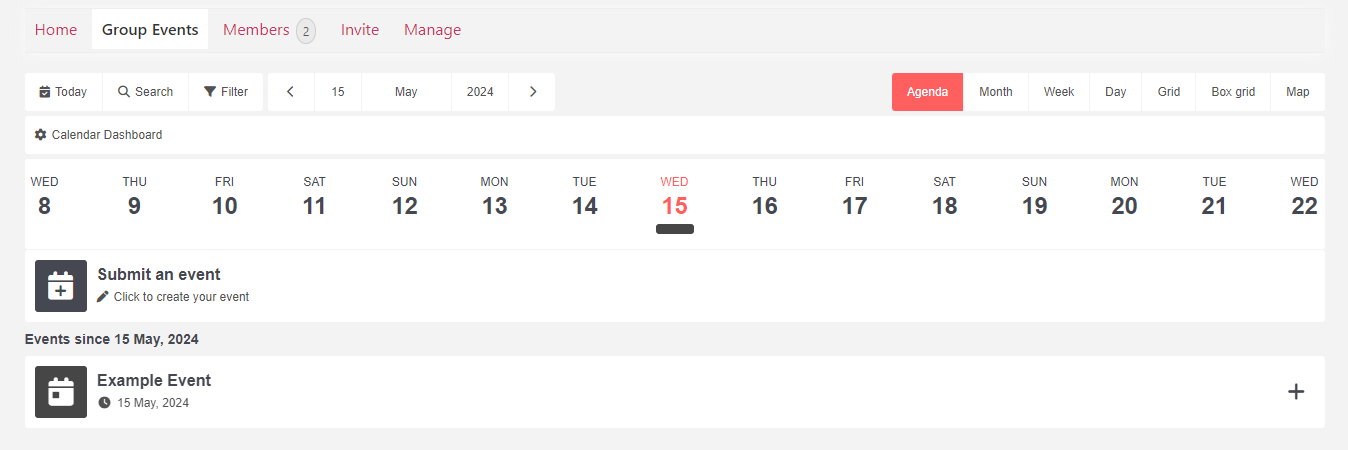
Note if you edit this Event from the admin panel you will notice it has the following "Read Permissions":

If you want only members to see this event remove "Public" from the permissions list.
If the BuddyPress group is "Private", then "Pubic" will be automatically removed from the Read permissions.

